How to Texture a Fringe: Cut, Style, and Grow It Out
A textured fringe looks effortless but takes technique. Here's how to build texture, style it for your hair type, and grow it out without the awkward stage.

A fringe either reads soft and lived-in or it reads like a straight line drawn across your forehead. The difference is texture. If you've already read the basics of what a textured fringe is and who it suits, this is the next step: how to actually build the texture, keep it, style it around your hair type, and grow it out when you're done without three months of awkward pinning.
Most of what follows you can do at home with a couple of tools and a bit of patience. Some of it is worth handing to a stylist. I'll be clear about which is which.
What "textured" actually means on a fringe
A blunt fringe is cut on one clean line, heavy at the bottom edge. A textured fringe breaks that line up. The ends sit at slightly different lengths, some pieces are thinner than others, and the whole thing moves instead of sitting like a curtain rod across your brow. That's the look people mean when they say a fringe looks "effortless." It isn't effortless, but it's not complicated either.
Texture does two useful things. It makes a fringe more forgiving, so a strand out of place looks intentional rather than wrong. And it takes weight out, which helps if your hair is thick and a solid fringe would swallow half your face. Before you commit to any of the shapes below, it's worth seeing one on yourself. You can preview a fringe on your own photo with our hairstyle try-on and get a sense of length and shape before a single hair gets cut.
The fringe shapes worth knowing
These are variations on the same idea, and the right one depends on your face, your hair, and how much daily styling you're willing to do.
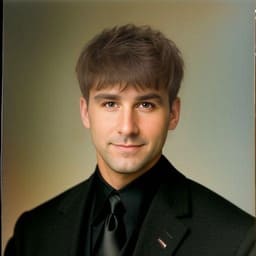
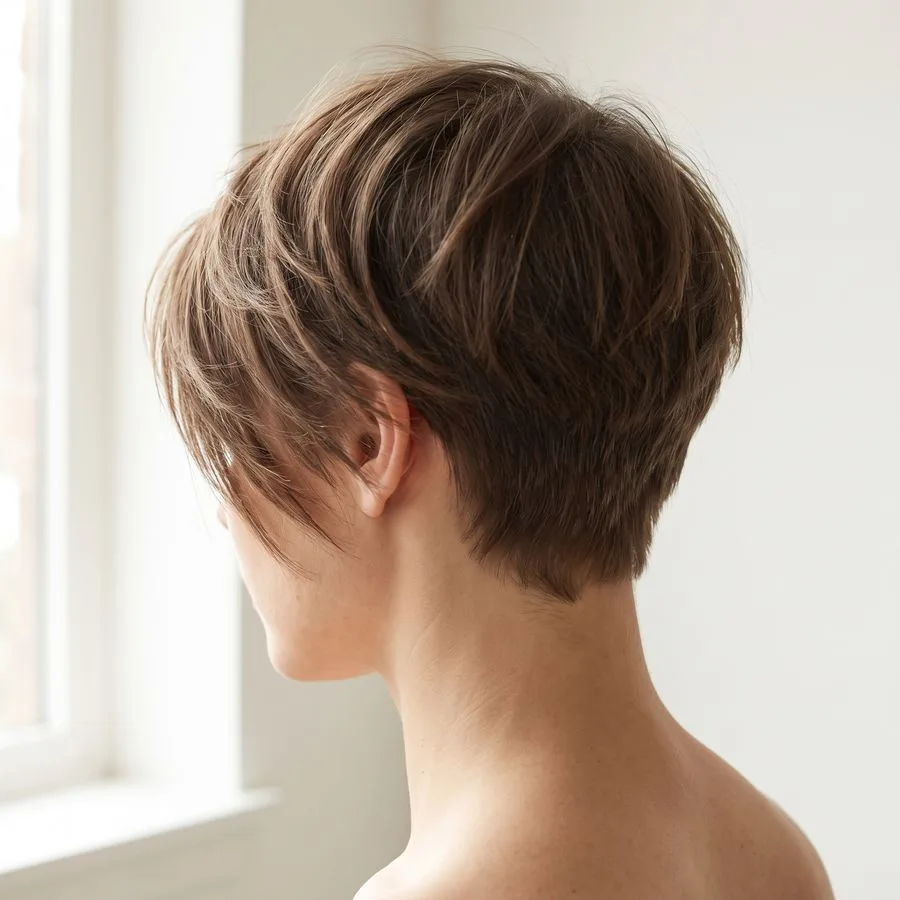
Textured fringe
The baseline. Cut with softness built into the ends so it separates into piecey sections rather than a solid wall. It suits most face shapes because the broken edge draws the eye down in a soft V rather than a hard horizontal. It's the easiest to style because a little disorder is the point.
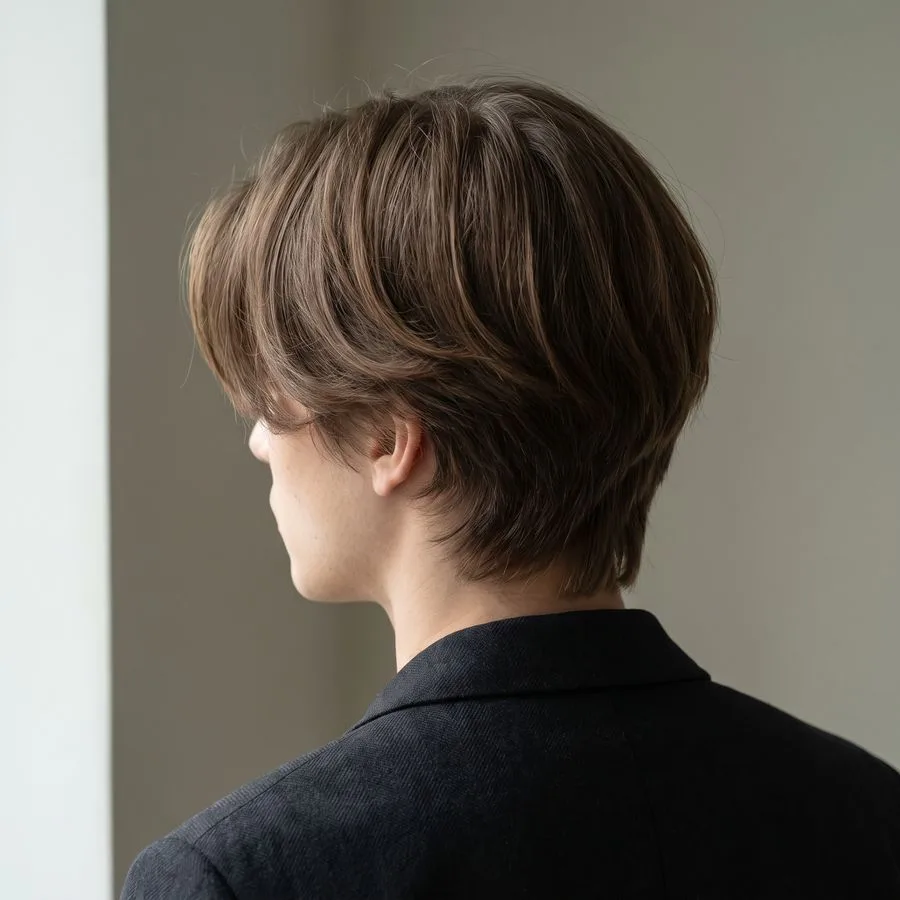
Curtain fringe
Longer, parted in the middle or slightly off-centre, and swept back on each side so it frames the face like open curtains. This is the low-commitment option. It grows out gracefully, blends into the rest of your hair, and you can tuck it behind your ears on a day you can't be bothered. It flatters a rounder face by adding length through the middle.
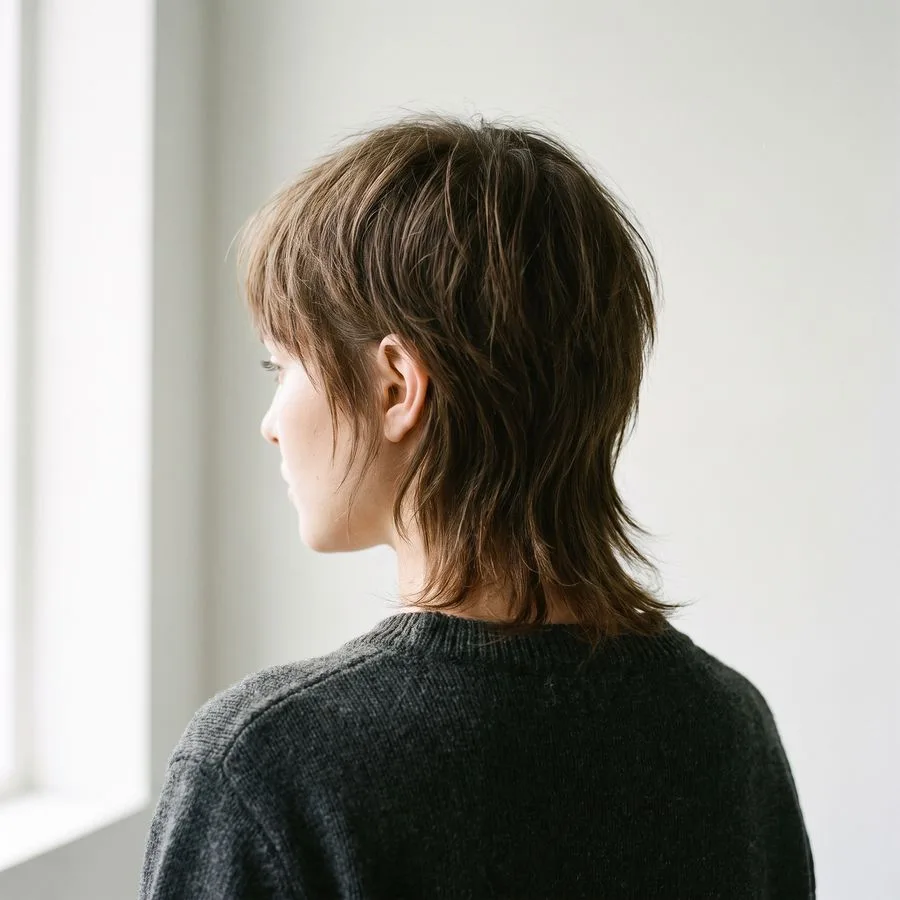
Wispy fringe
The lightest of the lot. Thin, feathery, see-through in places, sitting delicately across the forehead. Because there's so little weight to it, it works beautifully on fine hair, where a heavier fringe would separate and show scalp. It's also the most fragile in humidity, so plan for it to need a touch of product to hold its shape.
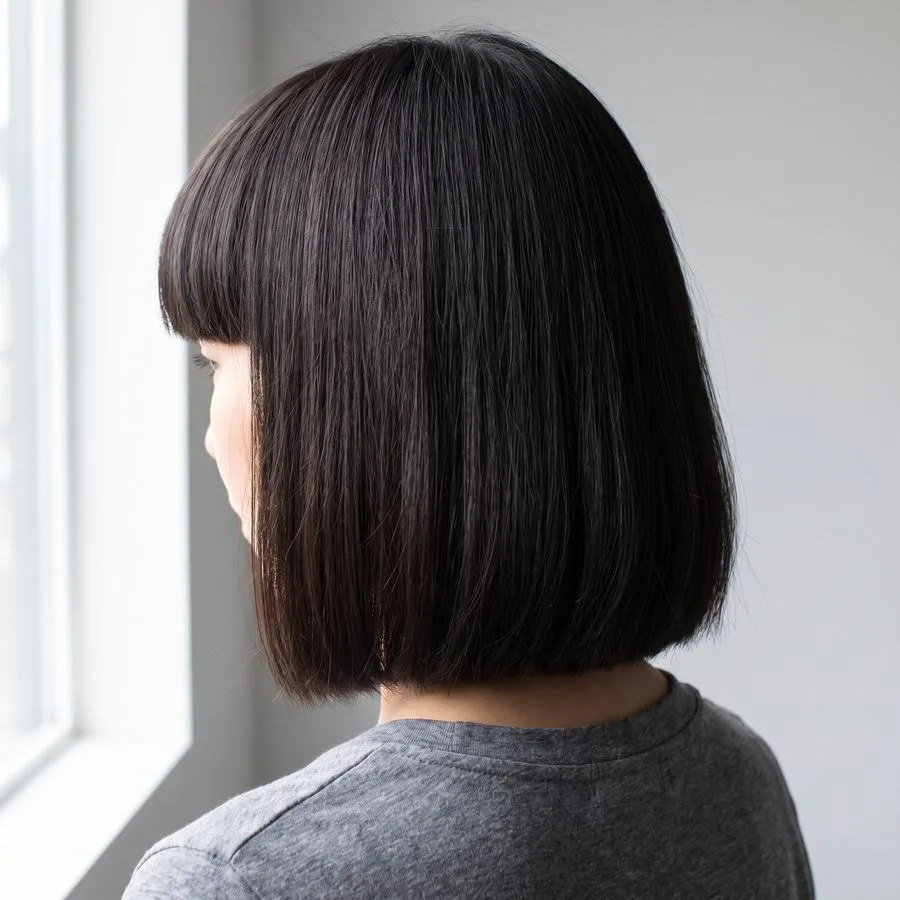
Blunt fringe
The opposite instinct: cut on one strong line for a bold, graphic look. On its own it's not textured at all, but it's here because a lot of people want the impact of a blunt fringe with a little give. A stylist can point-cut just the very bottom edge to soften it a fraction while keeping the heavy shape. That's the middle ground between blunt and textured, and it suits thick, straight hair that can carry the weight.
Side-swept fringe
Cut longer and angled so it sweeps across the forehead to one side. This is the gentlest way into fringe territory if you've never had one, because it keeps some forehead visible and reads more like a long face-framing layer than a full fringe. Texture through the ends keeps it from looking like a stiff side-part comb-over.
How to build texture at home
You can add texture two ways: by cutting it in, and by styling it in. Cutting is where most home haircuts go wrong, so start conservative.
The cutting tools
Two tools do this job, and they aren't the same. Texturizing shears have wide, spaced teeth and remove chunks to create separation and movement. Thinning scissors have finer teeth and remove bulk more evenly, which is what you want if a fringe is simply too dense. If you're cutting your own, the safest move is point-cutting with regular sharp scissors: hold them vertically and snip up into the dry ends a few millimetres at a time. It's slower and far harder to ruin than diving in with shears.
See any haircut on yourself
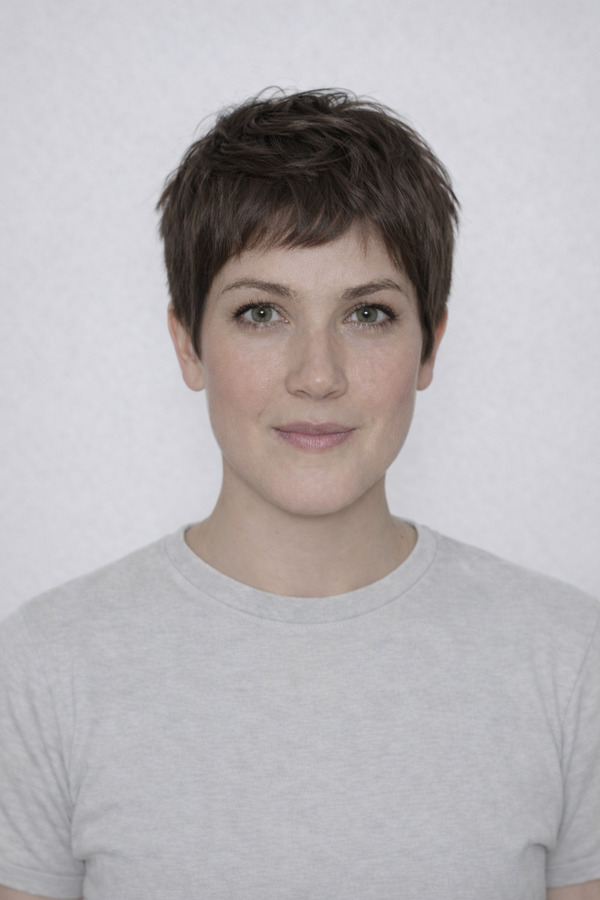
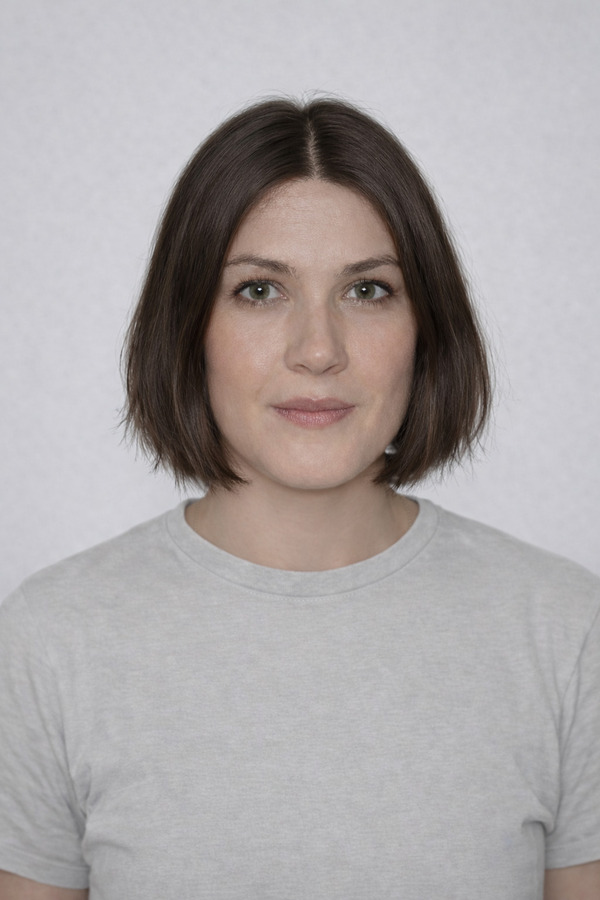
Upload one selfie and try on dozens of cuts and colours in seconds — before you commit at the salon.
Try a haircutCut fringe dry, not wet. Wet hair sits longer than it dries, and it will shrink up shorter than you meant.
Take less than you think. You can always remove more; you can't put it back.
Work into the ends vertically for separation, never straight across.
If you want real thinning through the body of the fringe, that's the job a stylist and proper thinning scissors do best.
The styling products
This is where a fringe is made or lost day to day. The two products worth owning:
Sea salt spray for pre-styling. Spritz it on damp hair and rough-dry to build grit and separation from the root. It's the fastest way to fake texture on hair that's naturally sleek.
Texture paste for finishing. A rice-grain amount warmed between your fingers, then pressed through the ends, pulls pieces apart and holds them. Too much and the fringe goes greasy and clumps, which is the single most common mistake. Start with almost nothing.
A diffuser matters more than people expect, even on straight hair. Drying a fringe with a concentrated blast of hot air flattens it into a slab. A diffuser spreads the airflow, keeps the movement you built with salt spray, and stops the ends from blowing into one solid sheet. On wavy and curly hair it's non-negotiable.
Matching the fringe to your hair type
The same cut behaves completely differently depending on what your hair does on its own. Two things drive that: density and porosity.
Fine and thin hair
The recurring worry is whether a textured fringe works on fine hair at all. It does, but heavy thinning is the enemy. Cut too much out and a fine fringe goes stringy and shows scalp. Keep it fuller and let a light point-cut do the softening. A wispy fringe is the natural home for fine hair because it's designed to be sparse. Salt spray is your friend here; it swells the hair shaft slightly and adds the grip that fine strands lack. Skip heavy paste, which drags fine hair flat.
Thick and coarse hair
Here the problem is the opposite. Left blunt, thick hair makes a fringe that sits like a helmet. This is exactly where texturizing shears and thinning scissors earn their place, taking out enough weight that the fringe bends and separates instead of sitting as a block. Thick hair holds a textured or blunt shape well and needs less product to stay put.
Curly and wavy hair
A curly fringe is cut for its shrunken, dry length, never stretched out wet, or it will spring up alarmingly short. Curls bring their own texture, so the goal is shaping and defining rather than adding movement. Dry-cutting curl by curl is the way stylists handle it. At home, a diffuser and a light scrunch of paste or cream through the front will define the shape. Curtain shapes tend to suit curls because the sweep works with the natural growth direction.
Where porosity comes in
Porosity is how readily your hair takes in and holds moisture, and it decides how your fringe behaves in the day. High-porosity hair soaks up humidity and swells, so a fringe that looked sharp at breakfast can frizz and lift by noon. Low-porosity hair resists product and can go limp or greasy if you overload it. If your fringe never seems to hold, the fix is usually less product applied to genuinely dry hair, plus a finishing texture paste rather than a heavy wax.
Face-framing layers and the fringe
A fringe rarely stands alone. Face-framing layers, the longer pieces cut to fall along your cheekbones and jaw, connect the fringe to the rest of your hair so it doesn't look bolted on. They also do the heavy lifting when you grow the fringe out, because they give the lengthening front pieces somewhere to blend into. If you're getting a fringe cut, ask for face-framing layers in the same appointment. The two are a set.
Maintenance: how often to trim
This is the question everyone asks, and the honest answer is that a fringe grows faster than you'd like. Most people find a fringe needs a shape-up every two to four weeks to stay off the eyes and hold its line. A textured fringe is a little more forgiving than a blunt one, because as it grows the softness disguises the change, but it will still creep down.
Fringe maintenance trims between full haircuts are worth booking, and many salons do them free or cheap for existing clients. If you trim at home between visits, follow the same rule as cutting it in: dry hair, point-cutting, tiny amounts. Trim the fringe on its own, not as part of an ambitious full-head attempt.
Growing it out without the awkward stage
The mid-length phase, when the fringe is too long to sit properly and too short to tuck away, is what makes people give up. You can shorten it a lot with a plan.
Stop cutting the fringe but keep trimming the sides, so the shortest pieces catch up to the face-framing layers around them.
Switch to a middle or deep side part to encourage the front pieces to fall to the sides rather than forward.
Sweep it into a curtain shape as it lengthens. A curtain fringe is essentially a grown-out fringe that's been shaped, so lean into that instead of fighting it.
Use texture paste to press stray pieces back and behind the ears on the in-between days.
Accessorise honestly: clips and a headband hold the growing fringe back without the pinned-down look.
Handled this way, the grow-out reads as a deliberate curtain-fringe stage rather than a mistake you're waiting out.
Before you cut
A fringe changes your face more than almost any other cut, and it's the hardest to undo in a hurry. That's the case for previewing it first. Try a few of these shapes on your own photo with the hairstyle try-on to see whether you want the softness of a curtain, the delicacy of a wispy fringe, or the weight of a blunt one before you sit in the chair. Take the version you like to your stylist, and bring the notes on your hair type. A good fringe is a conversation between the cut and how your hair actually behaves.